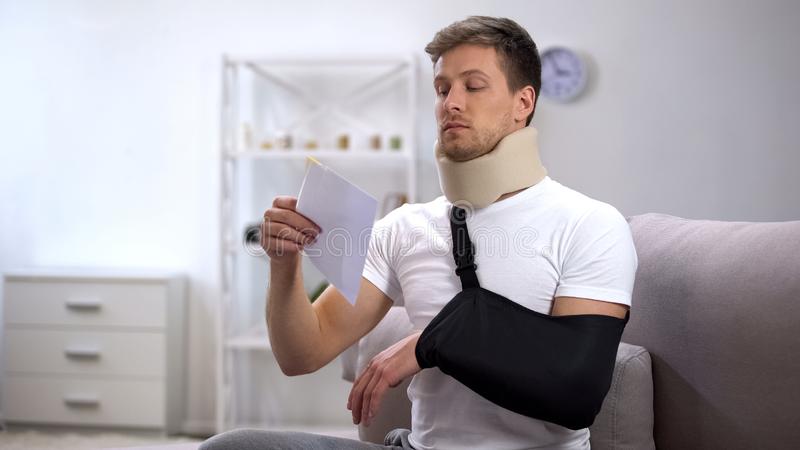
First Aid Guide to Making Arm Slings: If you happen to injure your arm, you may need to wear a sling while it heals. A sling will keep the arm in a still position to relieve pain and prevent the injury from becoming worse.
What To Use For A Sling
Arm slings are primarily used to restrict movement and provide support to the injured arm, reducing pain and preventing further damage. They play a crucial role in the recovery process by promoting proper alignment of the arm, reducing swelling, and facilitating the healing of injured tissues.
Whether it’s a sprained wrist, a broken bone, or a dislocated shoulder, the appropriate use of an arm sling can significantly contribute to the recovery and well-being of the injured individual
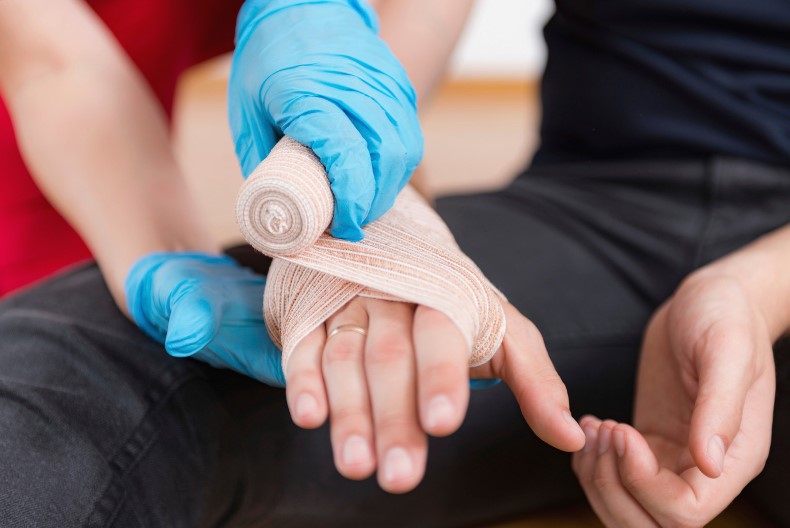
A sling is made of a triangular bandage that is a staple for most first aid kits. If you do not have one in your kit, be creative and use a piece of cloth. In emergencies, use a shirt or sweater to make a sling. Whatever material you decide to use, make sure that it does not fully stretch.
A sling is used to immobilise and protect against an arm injury. Although broken arms are the most common reason for wearing a sling, you do not necessarily need to have a broken bone to wear one. Other injuries such as contusions, sprains, and dislocations may also require a sling.
Step-By-Step Guide On How To Create An Arm Sling
- First, use a bandage or a piece of cloth that is about 5 feet wide at the base and at least 3 feet long on both sides. If the sling is being made for a child, we recommend using a smaller size.
- Cut the bandage or cloth in a triangular shape. If no scissors are available, fold the material diagonally into a triangle.
- Place the elbow at the top point of the triangle. Make sure that the wrist is midway along the bottom edge of the triangle.
- Adjust the sling in a position where the arm can rest comfortably. Check if the hand is placed higher than the elbow. Ensure that the elbow is bent at a right angle.
- Tie the sling together at the side of the person’s neck. Add pads on the knot for extra comfort.
- The arm should rest comfortably against the person’s chest if the sling was placed correctly. Expose the fingertips if possible.
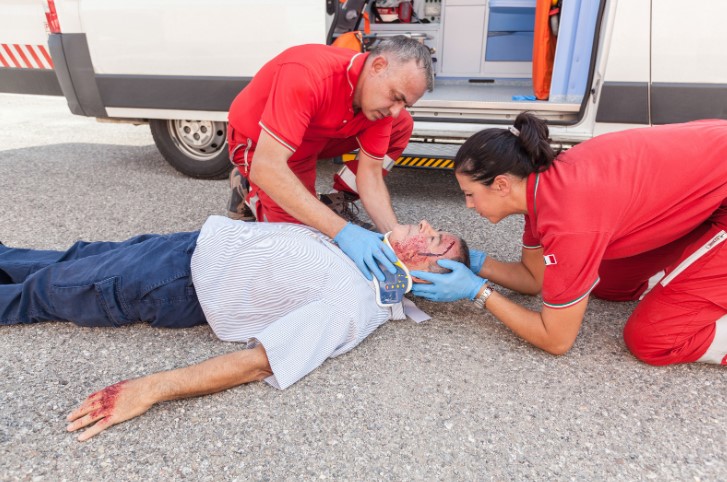
When making an arm sling, do not try to realign the injury unless the skin looks pale or blue or the person has no pulse. Seek emergency medical help if the injury involves a dislocation, broken bones, or severe bleeding. It is also best to get help if you are not trained in immobilising injury at the scene by yourself.
Check For Cuts And Bleeding
Check the arm for serious cuts and bleeding before putting on a sling. Make sure any bleeding is under control. Clean the skin thoroughly before applying the sling.
Check The Fit
Once the sling is in place, check if there is enough blood flow to the injury. You will need to loosen the sling if:
- The skin appears pale, bluish in colour, or feels cool
- The arm becomes numb, or there is a tingling sensation
- The person suffers from a weak pulse
See a doctor if you suspect other injuries or symptoms become worse.
Prevention Is Key
Safety is the best way to avoid broken bones and dislocations. Use caution when doing physical activities or when helping a person with fragile bones.
Learn First Aid to know more about prevention and first aid treatment.
Visit First Aid Course Canberra to know more.